
Leopold, with his private stash...
What you'll need:

The right tools for the job...
- Plasticard in assorted thicknesses, but one very thin flexible sheet to act as the cover.
- a scalpel and ruler.
- a hacksaw blade.
- Sandpaper.
- Superglue.
And that's it. The hacksaw blade is optional but helpful.
So, firstly the basic construction. They're basically just a thick square of plasticard with a thin piece wrapped around it in a 'U' shape.
To start with, you need to cut up some rectangles of thick plasticard to act as the pages themselves, I've gone with 1.5mm thick plasticard. You can measure them if you want, but I didn't, just went by eye, making the proportions look about right.

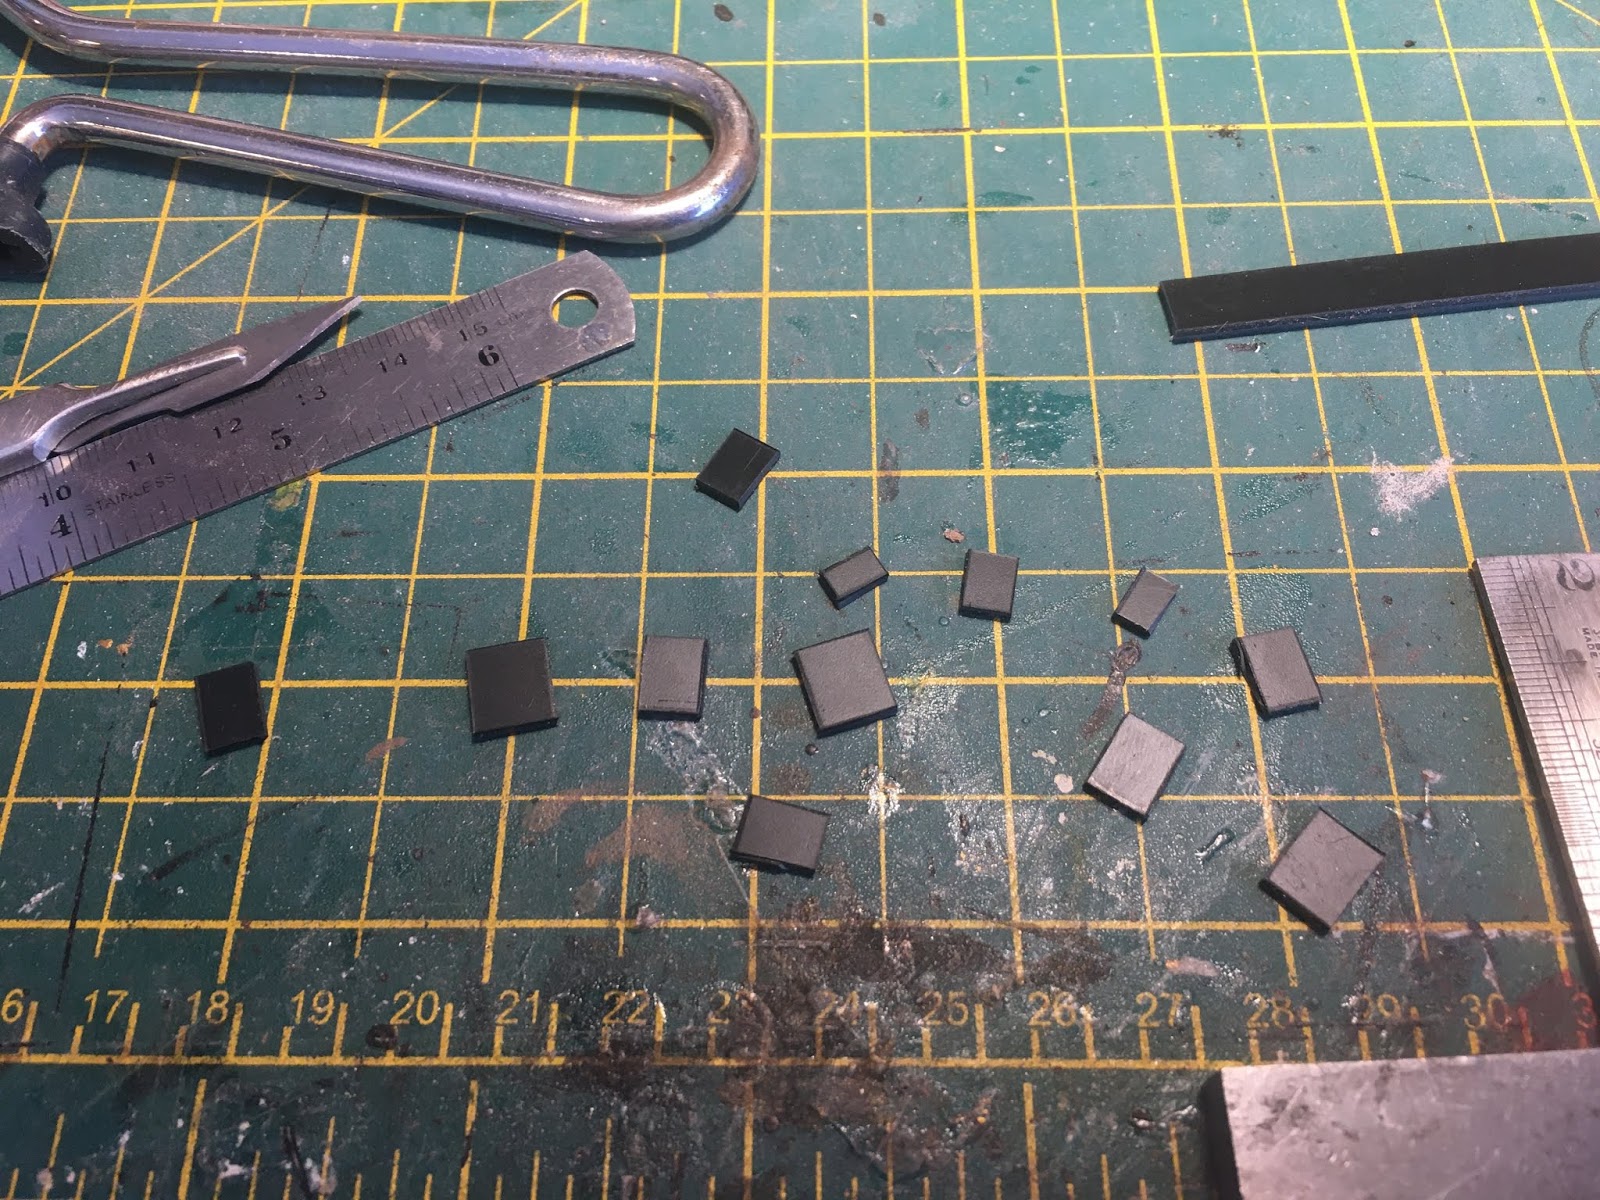
The book internals, cut to rough size.
Next up is to use the hacksaw blade to score the edges of the 'pages'. (If your books are just going straight onto shelves, you can probably just skip this step). Simply drag it down the sides to create indents. Once painted and washed they'll show up and just make your books look more realistic. I did try making the pages using multiple pieces of the very thin plasticard, but to be honest, it just wasn't worth the time it took.
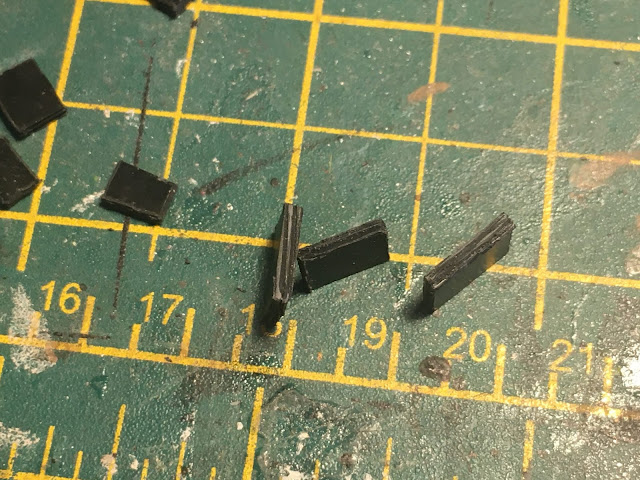

Using the hacksaw blade to score the edges of the pages.
Once you've got a bunch of book internals, it's time to do the covers. For this, stick the internals to the corner of a strip of the thin sheet, making sure the strip is a little wider on all sides to act as the cover. Once that's dry, dab a drop of superglue on the other side of the book, then simply fold the cover round and hold it in place until the glue sets. I've used superglue rather than plastic glue as it sets quicker.


The book internal, along with a strip for the cover.

The book pages, glued to one side of the cover...

...and with the cover folded over to form the spine.
Once dry, trim the cover to the right size, making it just slightly larger than the contents so it looks like, y'know, a book! Sanding the edges to round off the corners makes it look aged and damaged:


Finished book example, with the edges sanded.

and another example.

The complete set of books.
And that's pretty much it. You can go wild on the detailing if you want to, or you can just paint it on later. On the following ones (L-R), I've added metal corners, scribed in a spine detail, added a clasp, and on the final one, added an insignia on the cover with thin plasticard pieces:

Advanced detailing on some of the books.

A quick shelf I knocked up for the new books.
Once finished, I've glued them together with a couple of accessories, ready for paint:

Glued and ready for paint...

Along with a quick scratchbuilt shelf to fit them on.

...and after a (very) quick paint job.
I've tried other methods in the past, such as sculpting them in greenstuff, and although you can get more detail in, it is far more time consuming. I can do a dozen or so plasticard books in the time it'd take me to sculpt one GS book. If you're planning on doing piles of books, it'd maybe be worth doing the top one in GS, but 99% of the time any extra detailing you do will be lost on a shelf.
So there you go, hope that helps. It's really simple and there's not much to it, but it does get good results quickly!
Can’t see most of the pictures or is it me?
ReplyDeleteTry again now, not Blogspot had a bit of an issue I think.
DeleteWorking well now and thanks for the interesting and inspiring tutorial.
ReplyDeleteVery clever and a very simple process that produces great looking results. I'll have to give it a go!
ReplyDeleteI look forward to seeing what you do with 'em!
DeleteHad never thought of that, it's brilliant! Oh, I'm so stealing this! Thank you!!
ReplyDeleteVery good--I will be trying this method for sure!
ReplyDelete