
Saga, now with added monks!
This time we went up to 8 points from the 6 points last time, and my forces included the following:
- 1 warlord
- 2 points of Hearthguard in one unit (8 models)
- 2 points of warriors in one unit (16 models)
- 2 points or warriors in one unit (16 models)
- 1 point of levy archers (12 models)
- 1 point of Angry Monks! (12 models)
Gadge's Normans composed of the following:
- 1 Warlord
- 3 points of Mounted Hearthguard in two units of six models (12 models)
- 1 point of Warriors in one unit (8 models)
- 1 point of Warriors in one unit (8 models)
- 1 point of Warriors in one unit (8 models)
- 1 point of warriors with crossbows (8 models)
- 1 point of levy archers (12 models)
So, if you actually want to know how it all went, the report is after the break...
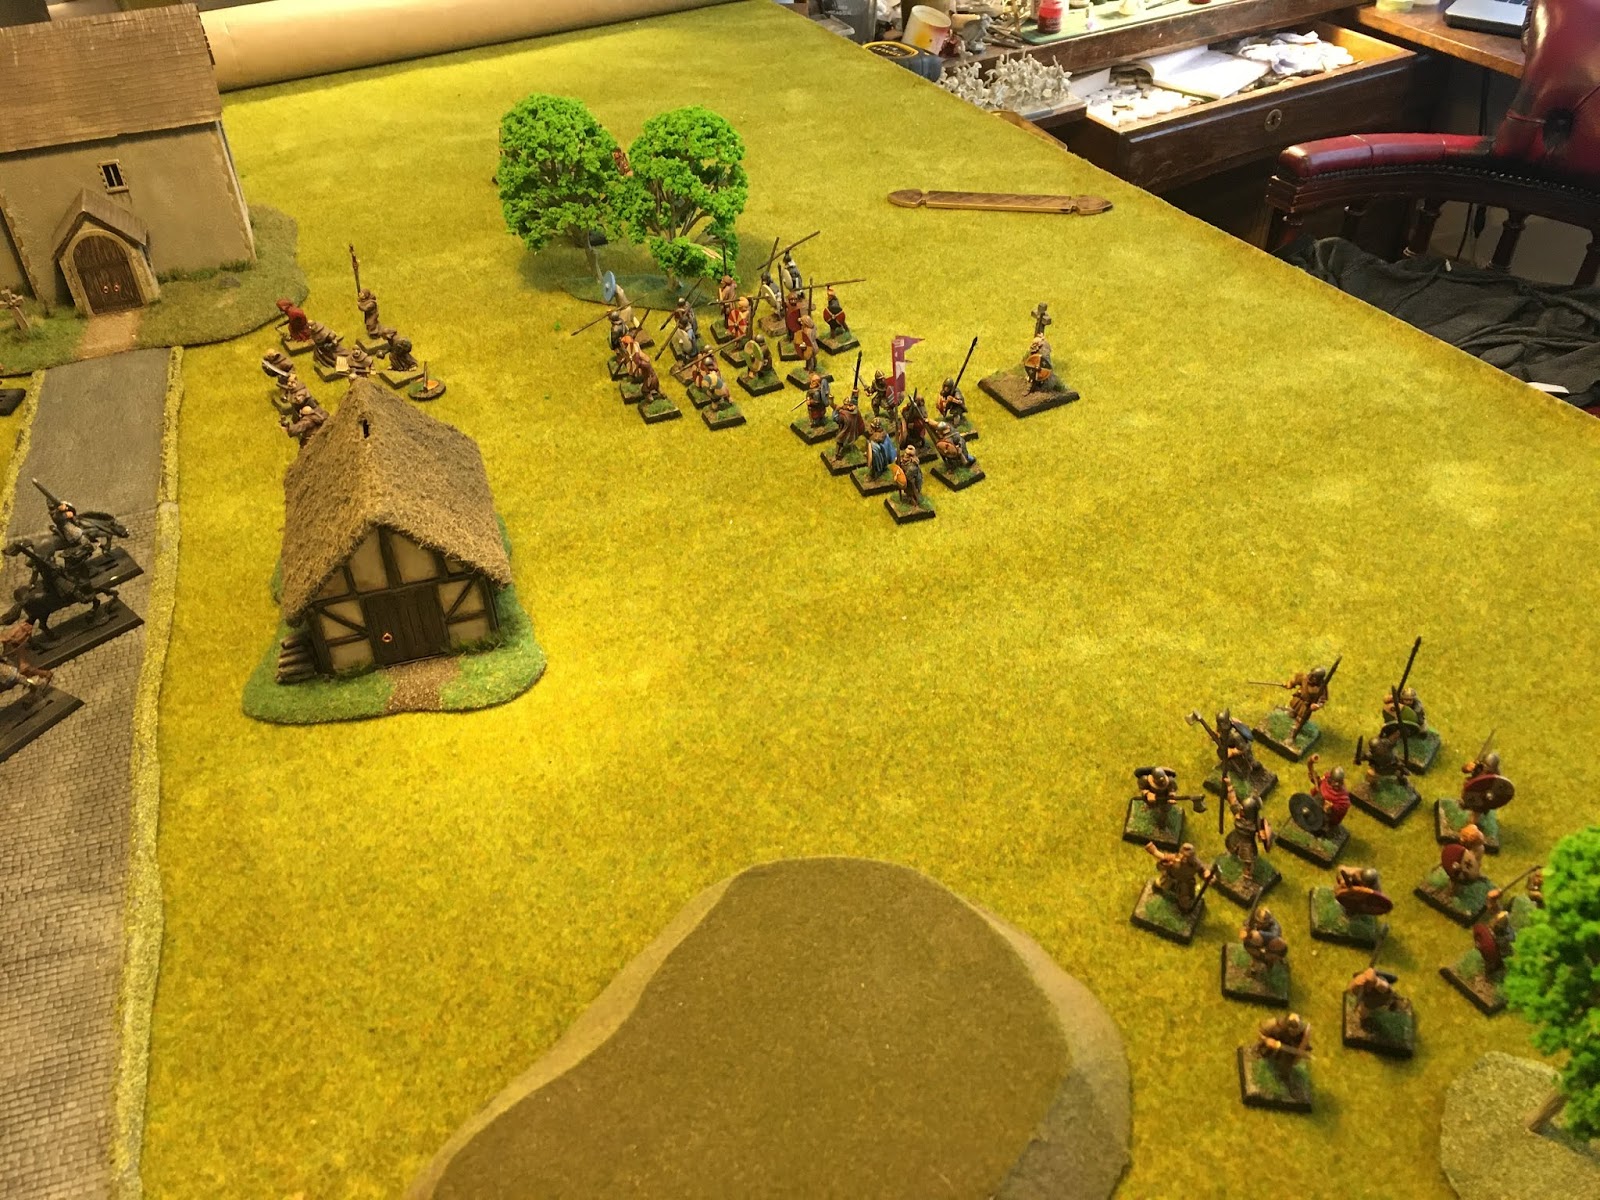
Here's the table set up at the start, Normans on the left, Anglo Saxons on the right. Minimal scenery, just a couple of buildings, a small hill, and the road leading to the small monastery.

The Norman unit placement:

And the Anglo Saxons:

And the view of the table from my side. The monks are hidden behind some trees...

...But not hidden well enough apparently. The first attack of the game sees the Norman archers using a Saga ability to double their range, seeing the monks hit by a hail of arrows and taking a couple of casualties in the process:

With the archers having done their thing, the Norman cavalry starts to advance:

Seeing the Normans advancing, the monks, furious at the defilement of their monastery by horsemen, make a foolhardy advance of their own to protect it.

The Anglo Saxon warriors, however, follow up behind them, not entirely sure what the monks are up to:
The monks use their relics and righteous indignation to fend off the Norman interlopers:

YOU SHALL NOT PASS!

...and then they find out:

In a not entirely unexpected turn of events, the monks are wiped out by the Norman cavalry in one round.

The second unit of Hearthguard Cavalry charge at the levy archers, who, thanks to some surprisingly lucky rolls, only suffer minimal casualties in the melee and are forced to retreat.

In the next turn, a large unit of Anglo Saxon warriors takes revenge for the monks by charging into battle and wiping out the offending Norman cavalry:

The Levy archers, however, hold their own and manage to pick off another Norman horseman.

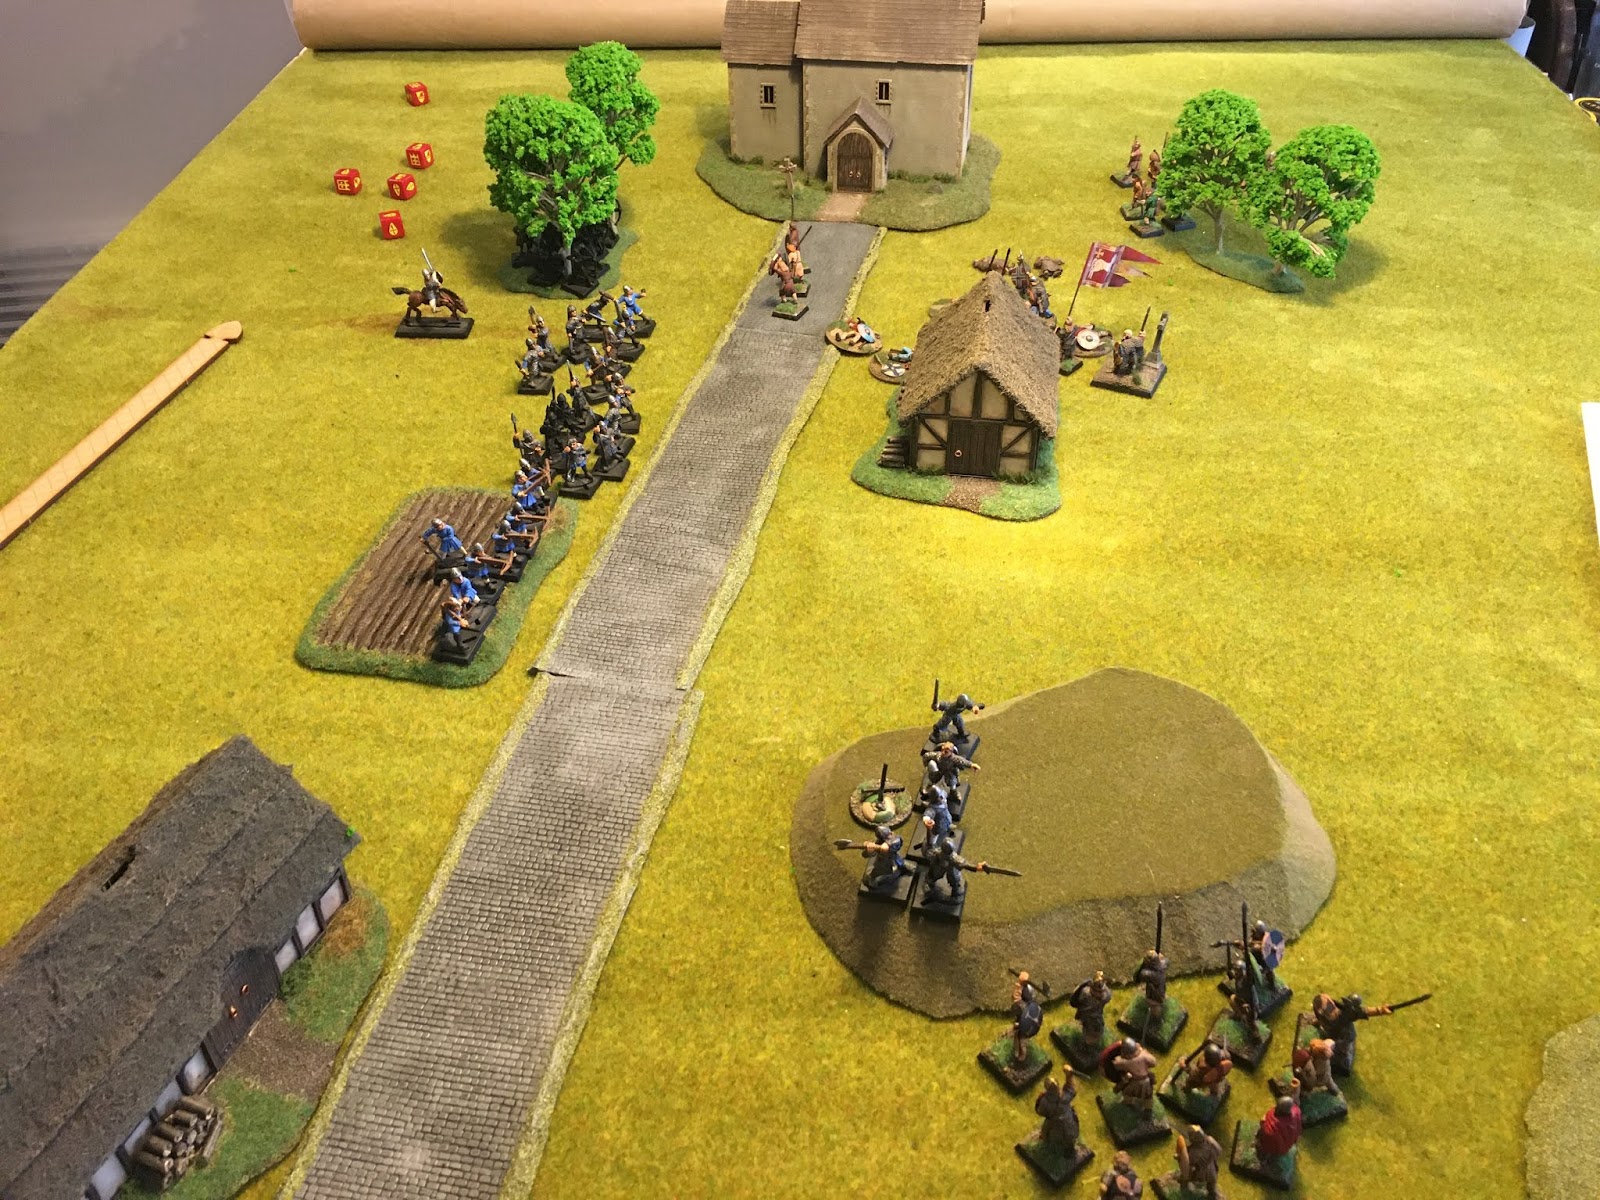
Meanwhile, at the so far quiet end of the table, both sides slowly advance toward each other, trying to gain a tactical advantage. The Anglo Saxons using the cover of the hill to avoid the wrath of the Norman crossbows.

A unit of Norman warriors advances along the base of the hill:

Back at the centre of the table, the Norman archers continue to slowly pick off Anglo Saxon warriors while they advance:

In a surprising turn of events, the Levy archers decimated the Norman cavalry, causing the sole survivor to make an embarrassing retreat!

The Norman infantry, attempting to take the high ground, take up a position on the top of the old barrow.

The warlord Eorl Aethur follows up his warriors along with his Hearthguard retinue.

Only to see his warriors wiped out by a devastating hail of arrows from the Normans.

The Anglo Saxons charge the Normans on the barrow only to inflict fewer casualties than they receive, forcing an ignominious retreat back to the base of the burial mound.

The Hearthguard continue their advance, while the remaining warriors attempt to reach the archers concealed in the woods.

The Norman warriors on the barrow prepare to charge their foes at the base of the mound...
...only to be wiped out by superior numbers and some lucky dice rolls.

The Norman forces, still showing a heathy number of warriors.

The Anglo Saxon warriors charge the Norman crossbows, inflicting a casualty and forcing a retreat across the muddy field.

Further up, the Anglo Saxon Hearthguard bravely charges the Norman warlord.

They manage to wipe out the remaining Norman mounted hearthguard, but suffer a casualty of their own.

The Anglo Saxons continue their advance across the field

However, the Normans wipe out the remaining Anglo Saxon Hearthguard. With few usable units remaining (and few available Saga dice) the Eorl Aethur concedes defeat, withdrawing the tattered remains of his units.

Well, it was a loss this time for me, unlike last time. The Normans have two hugely powerful attacks to counter, their mounted troops and their archers. Really I need to get in quickly and overpower them with my melee attacks, but by trying to use cover to avoid their archers, it took too long to get there this time.
The Angry monks I'm not so sure about, they have some great effects to remove fatigue from other units when they take casualties, but that doesn't help if they get wiped out all in one go!
So, onwards and upwards! and back to something more GW-related next time, I promise!
Excellent!
ReplyDelete